How to Remove Scratches from Expensive Leather Coats: The Ultimate Restoration Guide
A premium leather jacket is more than just a piece of clothing; it’s an investment, a statement, and a companion that ages with you. Whether it’s a rugged biker jacket, a sleek leather blazer, or a luxury lambskin coat from Popular Jacket, the heartbreak of seeing a fresh scratch on that smooth surface is real.
But here is the good news: Leather is a resilient, organic material. Unlike synthetic fabrics, leather has the ability to be healed and restored. In this guide, we will walk you through everything you need to know about removing scratches from expensive leather coats, from minor scuffs to deeper marks, ensuring your favorite piece stays in pristine condition for decades.
1. Understanding Your Leather: The First Step to Repair
Before you grab any oils or balms, you must identify the type of leather you are dealing with. Different leathers react differently to treatments.
- Finished/Pigmented Leather: Most modern jackets have a protective top coat. These are easier to clean and repair because the scratch is often just on the surface layer.
- Aniline/Unfinished Leather: This is high-end, natural-looking leather with no protective coating. It’s very porous, so you have to be extremely careful with liquids.
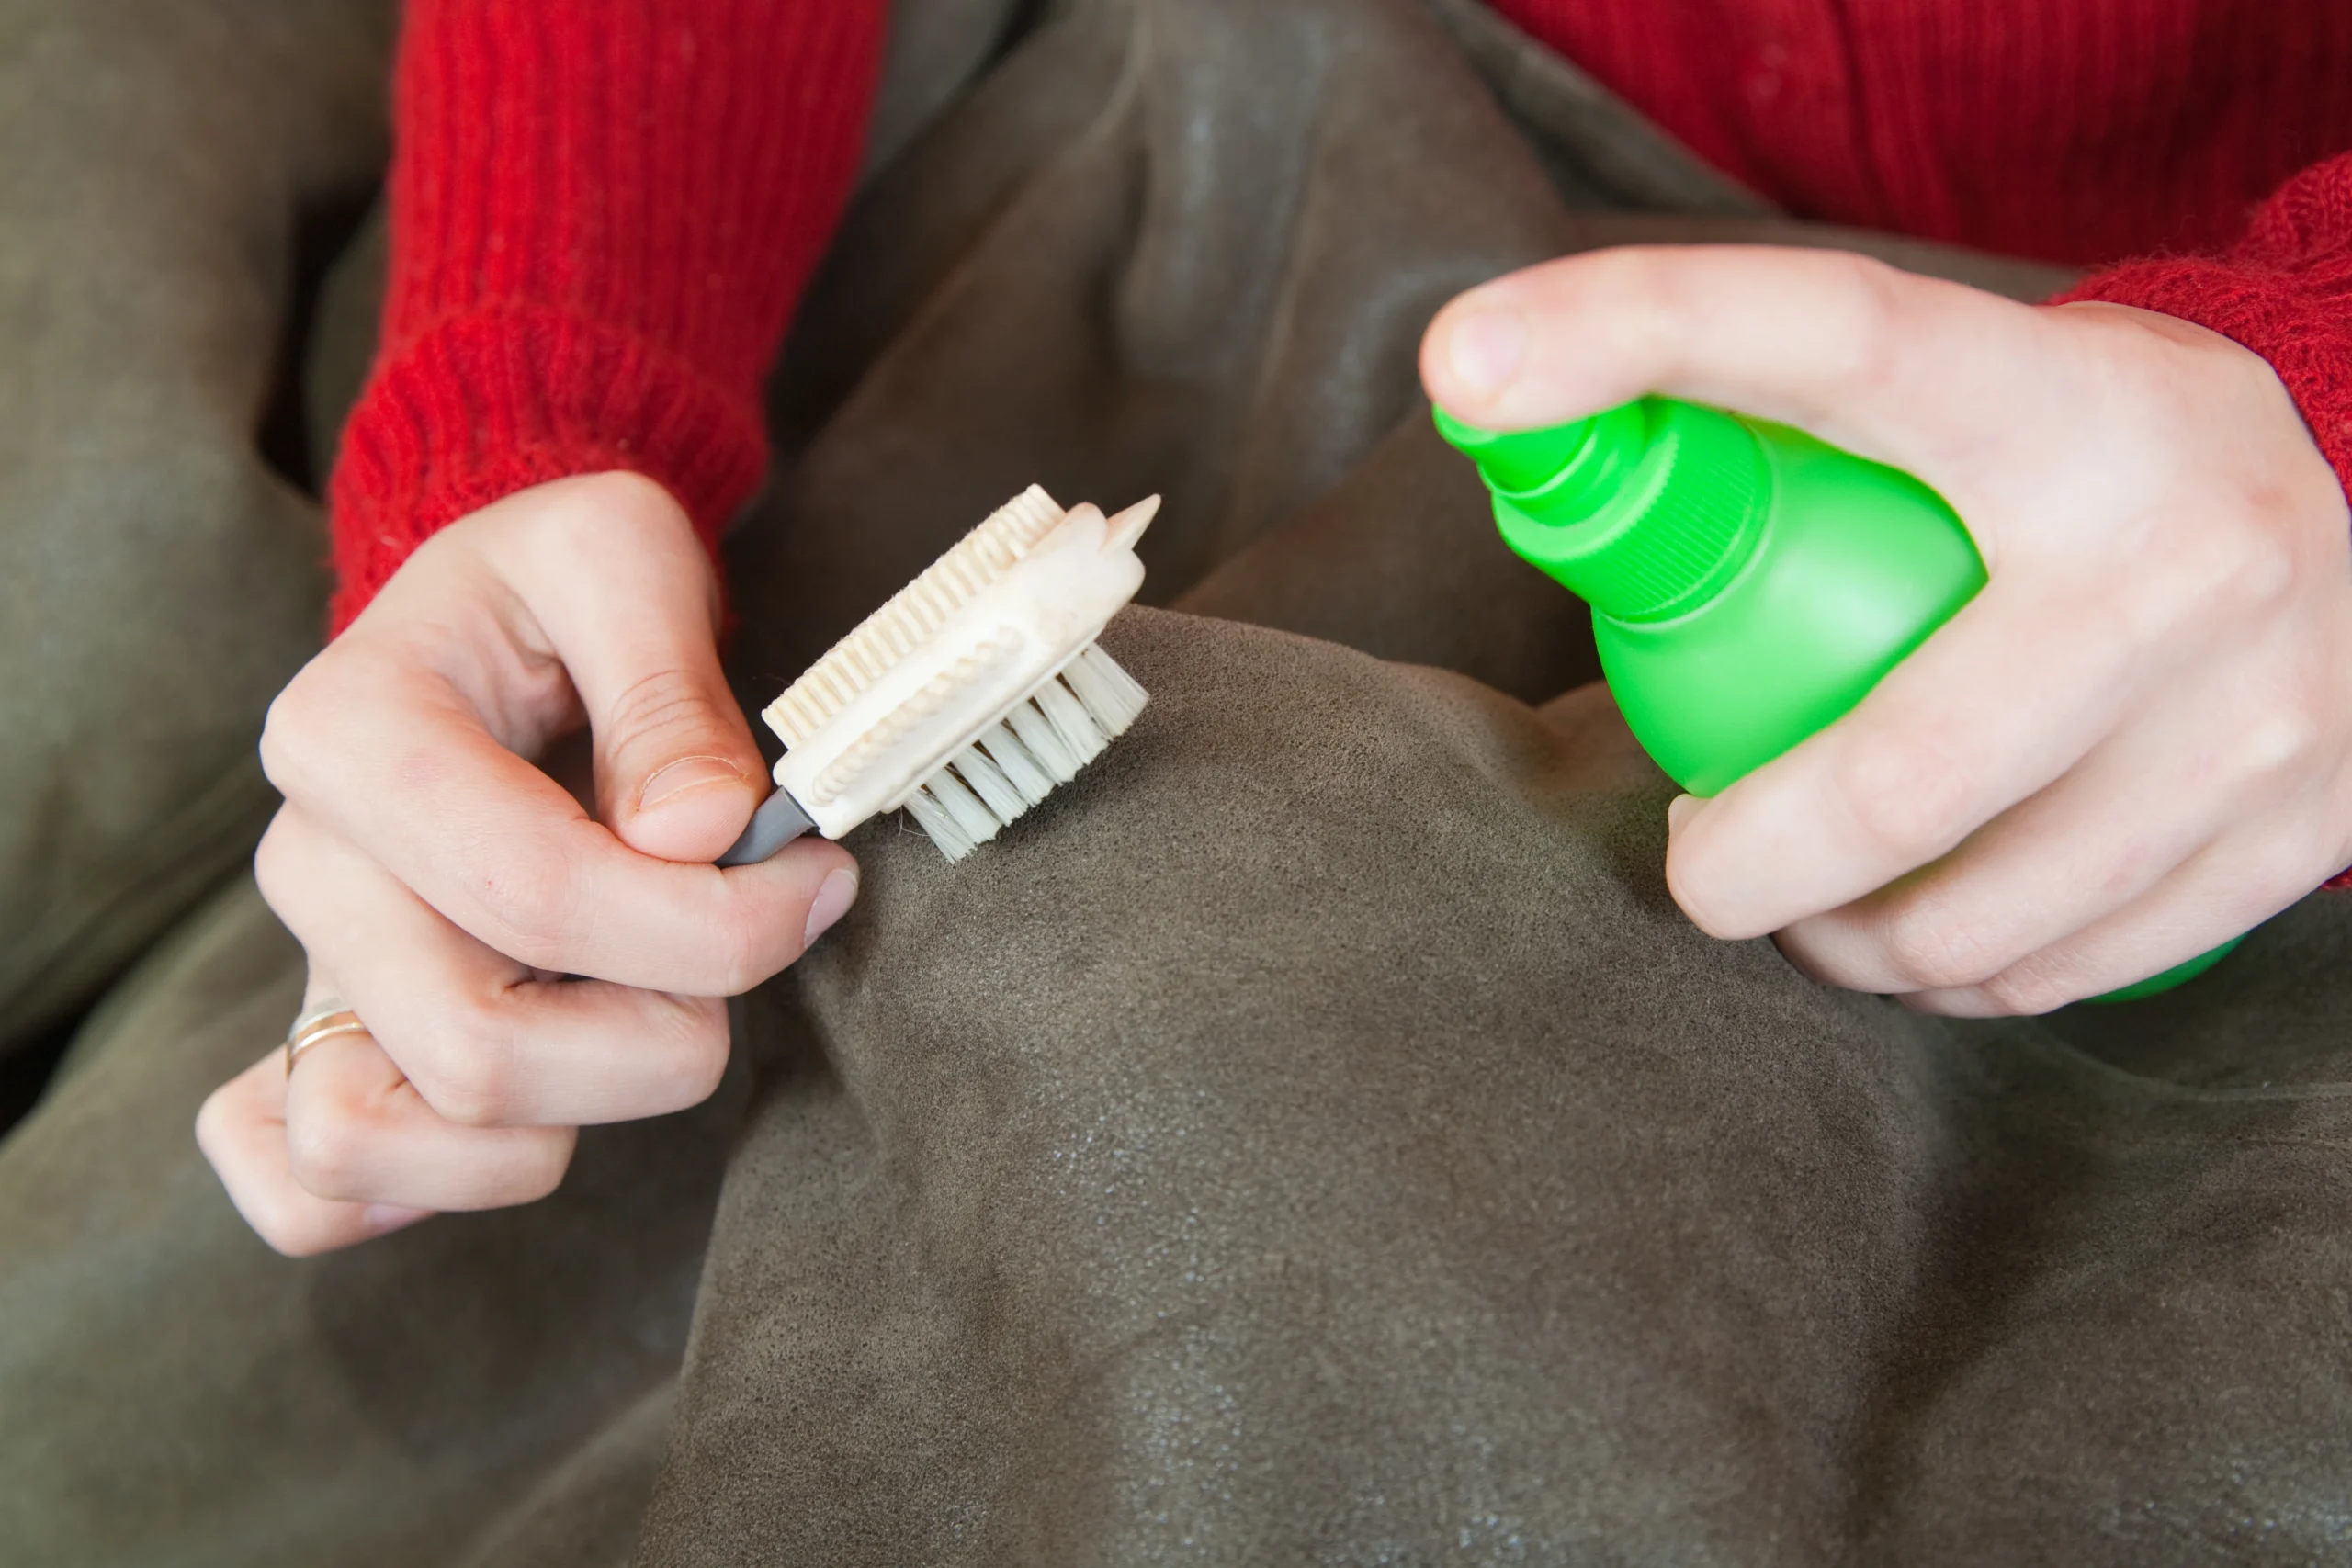
- Suede or Nubuck: These have a “fuzzy” nap. Never use oils or waxes on these; they require specialized brushes and erasers.
2. Categorizing the Damage: How Bad is the Scratch?
Not all scratches are created equal. To fix the problem, you first need to diagnose the severity.
Category A: The Light Scuff
These are surface-level marks where the color hasn’t been removed, but the leather looks slightly “ashy” or pressed down. Usually caused by a fingernail or a soft object.
Category B: The Deep Scratch
Here, the scratch has actually cut into the fibers of the leather. You might see a different color underneath, or the edges of the scratch might feel rough or “hairy.”
Category C: The Gouge or Tear
This is when a piece of leather is actually hanging off or there is a puncture. This requires a “fill and re-color” approach rather than just a simple buffing.
3. Method 1: The “Heat and Massage” Technique (For Light Scratches)
For expensive, high-quality leather (like the ones at Popular Jacket), the leather is rich in natural oils. Sometimes, all you need to do is redistribute those oils.
The Process:
- Clean the area: Use a dry microfiber cloth to wipe away any dust.
- Warm it up: Use a hair dryer on a low heat setting. Hold it about 6-10 inches away from the jacket for 30 seconds. You want the leather to feel warm, not hot.
- Massage: Using your thumb, rub the scratch in a circular motion. The heat thins the internal oils, allowing them to flow into the scratch and “heal” the mark.
- Buff: Once the scratch fades, buff the area with a soft cloth.
4. Method 2: The Leather Conditioner Treatment (For Dry Scratches)
If the heat method doesn’t work, the leather might be a bit dry. A high-quality leather conditioner acts like a moisturizer for your jacket.
The Process:
- Apply a small, pea-sized amount of Leather Conditioner or Balsam to a lint-free cloth.
- Gently rub it into the scratch and the surrounding area.
- Let it sit for 10-15 minutes. The leather will “drink” the conditioner, causing the fibers to swell and hide the scratch.
- Wipe off any excess product. This not only fixes the scratch but also prevents future ones by keeping the leather supple.
5. Method 3: Using Olive Oil or Baby Oil (The Home Remedy)
Caution: Use this only on darker, finished leathers. Always do a patch test on an inside hem first.
If you don’t have a professional kit, natural oils can work in a pinch.
- Dab a cotton bud into the oil.
- Apply it directly onto the scratch.
- Wait for an hour.
- If the scratch is still visible, repeat. This works by darkening the light-colored “scuffed” fibers to match the rest of the jacket.
6. Method 4: Professional Leather Glue (For Deep Gouges)
If a flap of leather is sticking up, you need to “glue” it back down before it snags and turns into a hole.
- Use a toothpick to apply a tiny amount of Leather Glue (flexible glue) under the flap.
- Press the flap down firmly and wipe away any ooze immediately.
- Once dry, use a leather color restorer (tinted cream) to hide the seam of the cut.
7. The Golden Rules of Leather Care
Prevention is always better than cure. To keep your Popular Jacket investment looking brand new, follow these rules:
- Avoid the Rain: If your jacket gets wet, dry it naturally. Never put it near a heater, as heat makes leather brittle and more prone to scratching.
- The “Hanger” Rule: Always use a wide, padded hanger. Wire hangers can create “shoulder bumps” or stress marks that look like scratches.
- Condition Twice a Year: Just like your skin, leather needs hydration. Conditioning every 6 months makes the leather “self-healing” for minor scuffs.
- Store in Cotton: Never store leather in plastic bags. Leather needs to breathe. Use a cotton garment bag to prevent dust and accidental scratches in the closet.
Conclusion: Wear it with Confidence
A few marks here and there are part of a leather jacket’s story—it’s called “character.” However, keeping your coat maintained ensures that it looks like a curated vintage piece rather than a neglected one.
Whether you are buying your first biker jacket or adding to your collection, remember that quality leather from Popular Jacket is built to last. With a little bit of care, a hair dryer, and a good conditioner, you can erase the accidents of yesterday and keep your style sharp for tomorrow.
Summary Checklist for Scratch Removal:
- Light Scuff? Use the Heat & Massage method.
- Visible Mark? Use a Leather Conditioner or Balsam.
- Deep Cut? Use Leather Glue and Color Restorer.
- Suede Jacket? Use a Suede Eraser and Brush only.
Looking for your next leather investment? Explore our latest collection at Popular Jacket and find a piece that defines your style!